How to record a Google Meet call without a bot
Record a Google Meet call from Chrome without adding a notetaker bot, and get the transcript and the meeting recap by email. Step by step, with what to check first.
Last updated 12 November 2026
Most AI notetakers record Google Meet by sending a bot into the call: a participant called something like “Notetaker” that someone has to admit, and that everyone sees in the list. You can record the same call from your own browser tab instead, with nobody added. This guide shows how, with Muvero’s Chrome extension.
Before you start
- A computer with Chrome or Microsoft Edge. Extensions don’t run on phones or tablets.
- The Muvero Chrome extension, signed in to your Muvero account. Add it from the Chrome Web Store in one click; the install steps show where.
- Consent. Tell the people in the call that you are recording, and ask if the law where you are requires their agreement. A bot-free recording is invisible in Meet, so saying it is up to you.
You don’t need a paid Google Workspace plan. Meet’s own recording is available only on some Workspace plans and saves to the organiser’s Drive; recording from your tab works on any call you can join.
Record the call
- Join the call in Chrome at meet.google.com, as you normally would.
- Click Record this meeting. The button appears on the call page once the extension is installed.
- Confirm that everyone knows the call is recorded, and start. The first time, the extension asks for your defaults: the email the recap goes to, its language, and the transcription model.
- Have the meeting. The extension records the others’ voices from the tab and yours from the microphone, and notes the names Meet shows for the people speaking.
- Leave the call. A few seconds later the recording stops by itself and is sent to Muvero. You can also press Stop at any time.
What you get
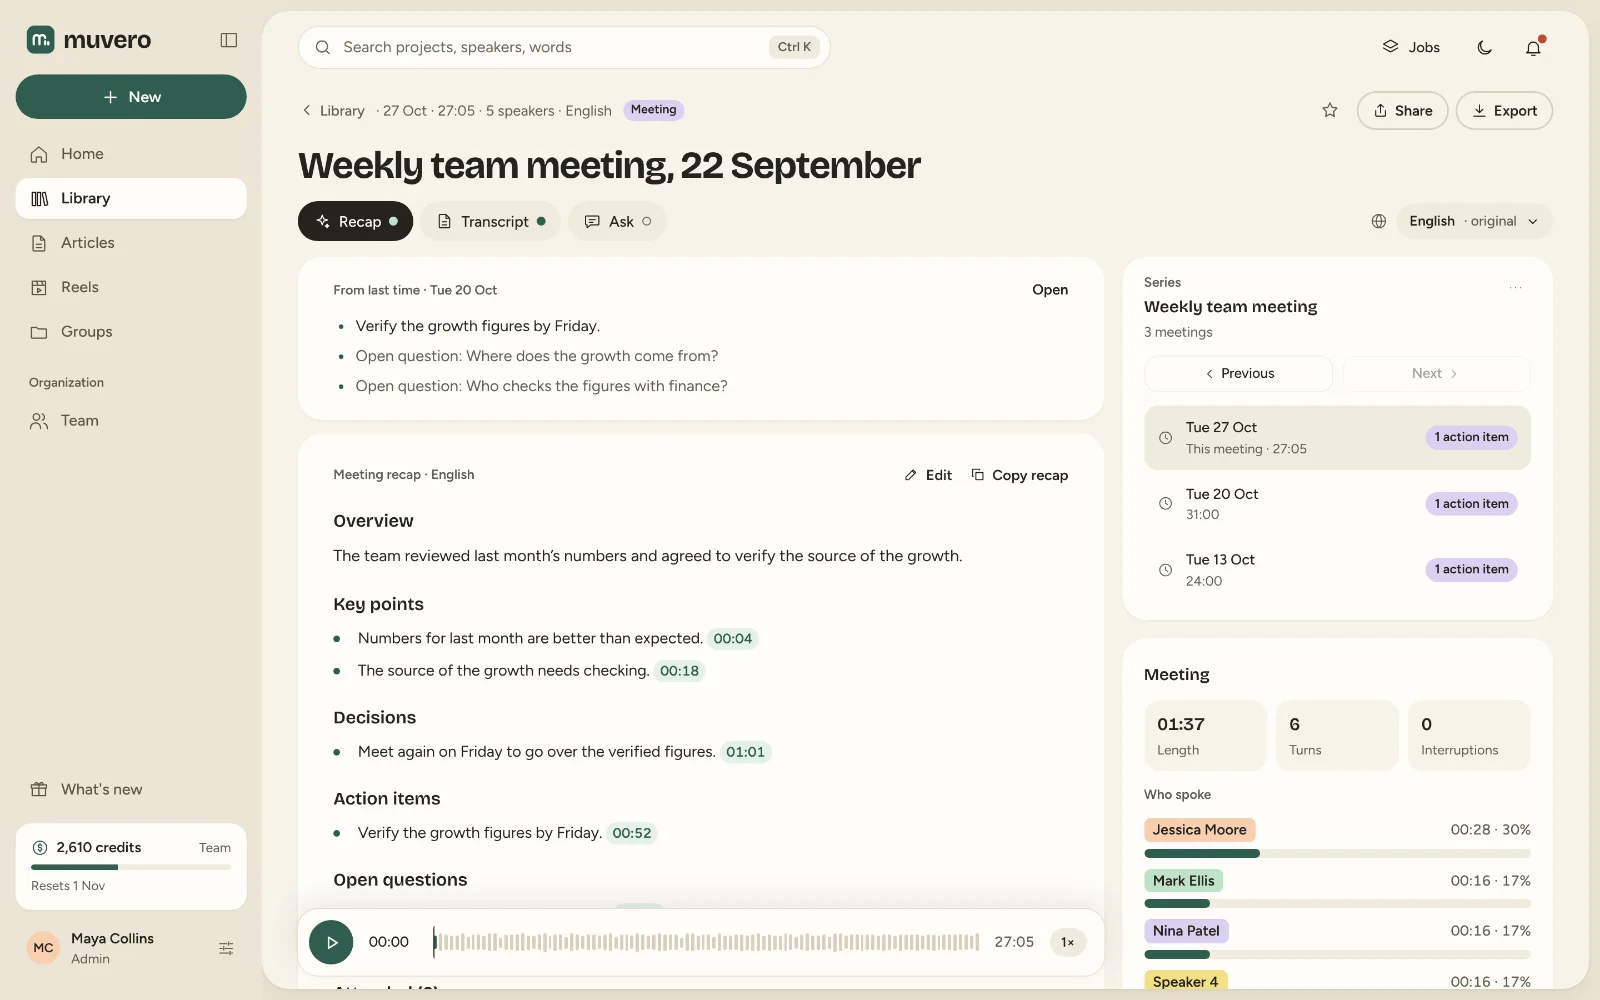
Minutes after the call, the recap is in your inbox: an overview, the decisions, the action items with who owns them, and the open questions. In Muvero you also have the full transcript with speakers by name, talk time per person, the mood and the highlights, each one a click away from the moment it was said.
Before you forward the recap, read it once and fix anything that needs it: it is editable, and you choose who receives it, from everyone who attended to just yourself.
Tips for a better recording
- Wear headphones. Without them, the others’ voices come back through your microphone as an echo.
- One person records. If two people record the same call, you get two projects and pay twice.
- Pick the recap language up front. A meeting in Serbian can get its recap in English, or the other way round; set it in the extension’s defaults or change it in the project later.
- Calls outside Meet work the same way. Zoom, Microsoft Teams, Webex, Whereby, Jitsi and GoTo all get the same Record button when joined in the browser.
If something goes wrong
- No Record button? Reload the Meet tab. If it is still missing, open the Muvero icon in the toolbar and check that you are signed in.
- Your own voice is missing? Allow the microphone for the extension when Chrome asks, and check that Meet and the extension use the same microphone.
- On a managed work computer the extension may need IT’s approval from the Chrome Web Store. Meanwhile you can record the call’s tab from Muvero itself, or upload a recording you already have.
For calls in the Zoom and Teams desktop apps, use Muvero for desktop instead. How the recap is written, and what it holds, is on AI meeting notes; what a recorded meeting costs is on the pricing page.